Table of Contents
How to add an administrator to the server
1. premise
Please login to the game panel.
Click here to log in to the game panel .
2. revision history
- 1.0:
- Creation Date: 2024/1
- Update: First edition created
- AUTHOR: BESTNET-GSERVER
3. table of contents
- 1. premise
- 2. revision history
- 3. table of contents
- 4. backup acquisition
- 5. open the file 'adminlist.ext
- 6. enter the SteamID64 of the player you want to make an administrator
- 7. CLICK 'SAVE CONTENT
- 8. include -console as a startup option in the Valheim client
4. backup acquisition
Please make sure to back up your work before you begin.
Backups can be easily created from the game panel and restored with a single click.
Please refer to the following.
Click here for instructions on how to make a backup.
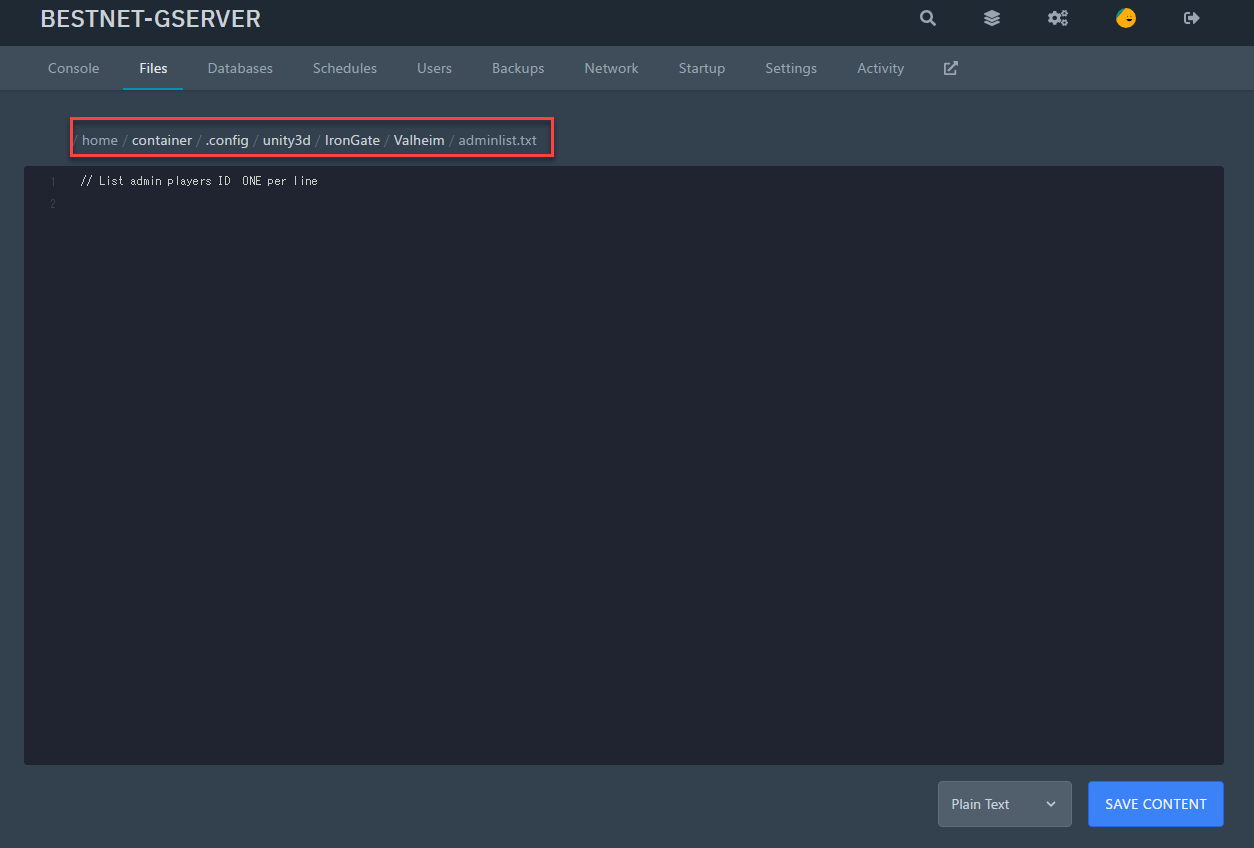
5. open the file 'adminlist.ext
ゲームパネル内のファイルブラウザで’adminlist.ext’を開いてください。
このファイルは以下の場所にあります。
.config/unity3d/IronGate/Valheim/adminlist.txt
6. enter the SteamID64 of the player you want to make an administrator
管理者にしたいプレイヤーのSteamID64を1行に1個ずつ記載してください。
以下画像の例では2個のSteamID64つまり2人のプレイヤーを管理にする記載をしています。
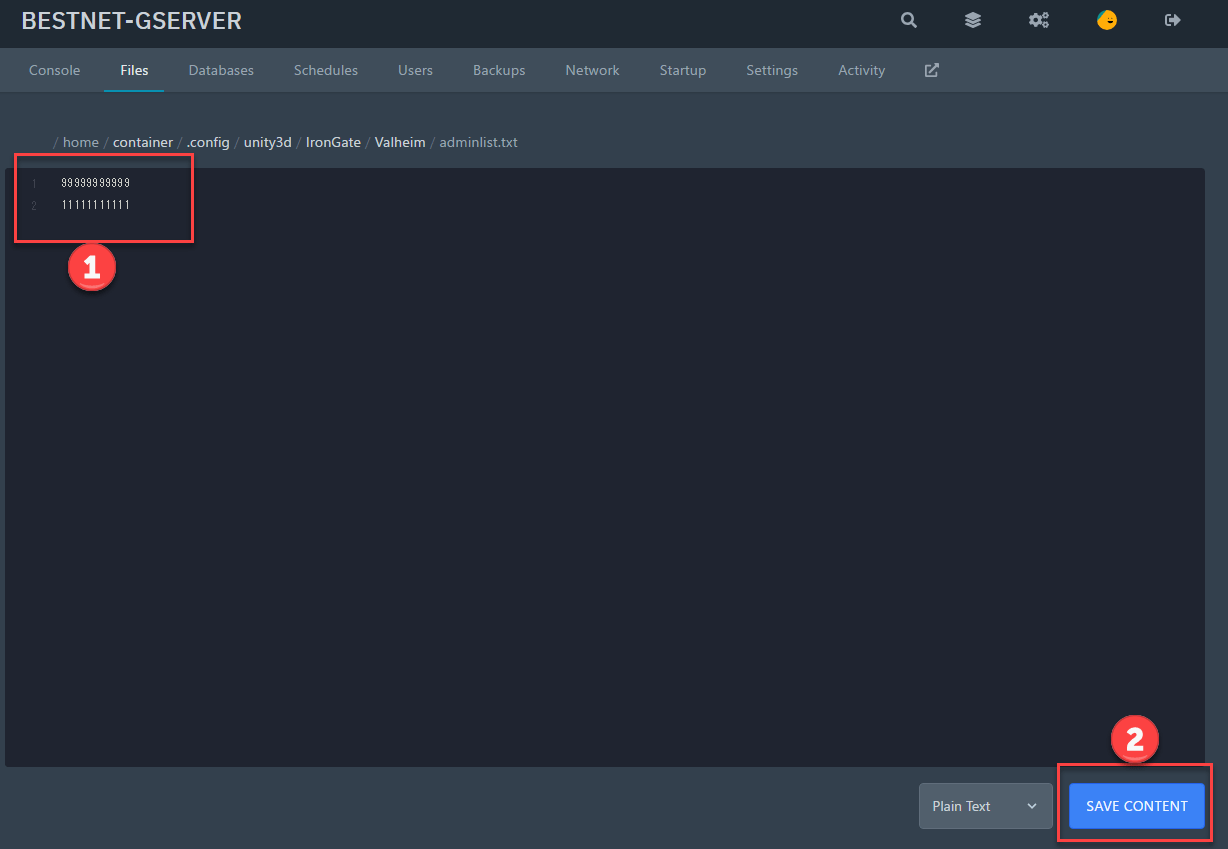
7. CLICK 'SAVE CONTENT
Settings are saved and applied.
8. include -console as a startup option in the Valheim client
Valheimクライアントではデフォルト設定の場合、ゲーム内でコマンド入力コンソールが使用できません。
つまりせっかく管理者ユーザーになっても管理者コマンドを使用する事ができない事になります。
従ってSteamライブラリでValheimを右クリックし、プロパティ→全般タブ内の起動オプションに -console を記載してください。
If you have any other questions, please submit a ticket.