
Contents
MIGRATION
How to move a Soulmask world you have been playing locally (single-player) to a BESTNET-GSERVER dedicated server. Your progress carries over exactly as it is.
Revision history
- v2.0
- August 2026 — Full revision. Added a backup step to carry out before you begin, and a procedure that renames existing files to set them aside instead of deleting them. Screen names now match the current game panel (English display), and a step to verify the result after migrating has been added.
- v1.0
- August 2024 — First edition
Before you begin
Carrying out this procedure replaces the existing world on the server and the progress of every player on it. This cannot be undone, so always complete these two things first.
1. Take a backup of the current server from the Backups screen in the game panel
2. Do not delete the files you are replacing — rename them to set them aside (following the steps in this article does exactly that)
1. Take a backup of the current server from the Backups screen in the game panel
2. Do not delete the files you are replacing — rename them to set them aside (following the steps in this article does exactly that)
What you will need:
- The Windows PC where you play the world you want to migrate
- Your game panel login details (from your order confirmation email)
If you have only just rented the server and nobody has played on it yet, there is no data that would be lost by the replacement. Even then, taking a backup first is reassuring.
Find your local save data
- Launch Soulmask and choose [Continue].
- Make a note of the invite code of the world you want to migrate.
- Press the Windows + R keys to open the Run dialog.
- Type
%localappdata%\WS\and press [OK]. - Open the folder named after your SteamID.
- Open
2646460→AutoGames. - Open the folder that matches the invite code you noted in step 2. You will use this folder later, so leave it open.
![Choosing [Continue] on the Soulmask title screen](https://gss.bestnetllc.co.jp/wp-content/uploads/2024/08/%E7%B6%9A%E8%A1%8C.webp)
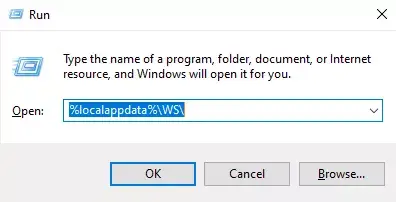
%localappdata%\WS\This folder holds
world.db, the world itself, and GameXishu_..., the gameplay settings.Stop the server
Always stop the server before you replace any files.
- Log in to the game panel and select your Soulmask server.
- On the Console screen, press Stop and wait until the status shows that the server has stopped.
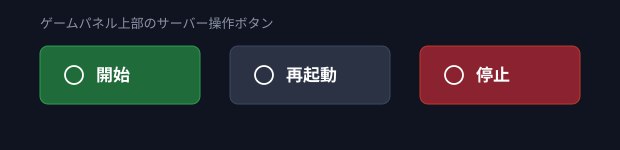
Never replace files while the server is running. Data that is halfway through being written can be mixed in, and the world can be corrupted.
Replace the gameplay settings file
- Open the Files screen in the game panel.
- Open
/home/container/WS/Saved/GameplaySettings. - Use Rename to change the existing
GameXishu.jsontoGameXishu.json.bak. Do not delete it. - Upload
GameXishu_...from your local folder. - Use Rename to rename the uploaded file to
GameXishu.json.
If this file does not exist, start the server once and then stop it, and the file will be generated.
Replace the world itself
- Open
/home/container/WS/Saved/Worlds/Dedicated/, then open the folder named after the map you are running. The standard map (Cloud Mist Forest) isLevel01_Main; the DLC map (Shifting Sands) isDLC_Level01_Main. - Use Rename to change the existing
world.dbtoworld.db.bak. Do not delete it. - Upload
world.dbfrom your local folder.
Save data cannot be shared between maps. The
world.db you upload must be save data created on that map. Placing it in another map's folder will not load correctly. For switching maps, see How to change the map on your Soulmask server.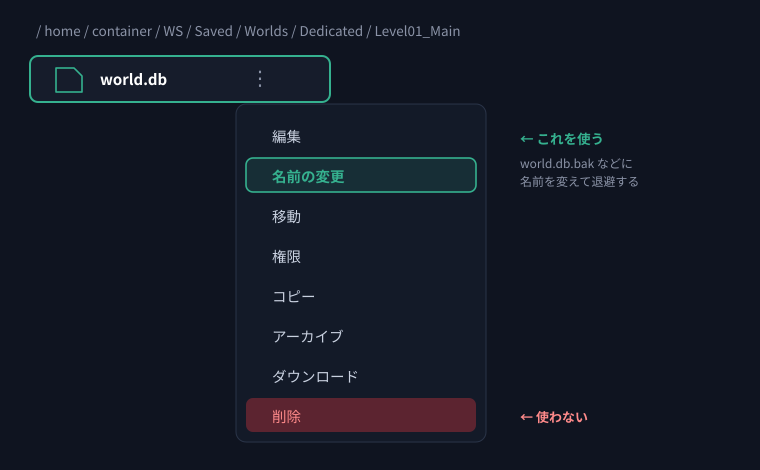
If you choose Delete here, the original world cannot be brought back. Always use Rename, so that if something goes wrong you can change the
.bak names back and return to where you were.Start the server and check
- Press Start on the Console screen in the game panel.
- Wait until the status becomes Online.
- Launch the game and join by searching for your server name in the in-game server list.
- Confirm that the world is in the state you migrated.
It can take a few minutes after starting before the server appears in the in-game list. For details, see Start the server and Join the server.
Once you have confirmed that the migration worked, you may delete the world.db.bak and GameXishu.json.bak files you set aside.
The folder layout on the local side can change when the game is updated. If you cannot follow these steps as written, leave the files as they are without deleting anything and contact us with a support ticket.


